

Security issues are always at the forefront when you register an account, especially those related to assets like trading account. Google Authenticator is a tool that makes you confident about security and is trusted by many users. Let’s explore what Google Authenticator is, its necessity, and how to install and use it in the article below.
About Google Authenticator
Google Authenticator is an effective security support tool invented and developed by the tech giant Google, trusted by many users. This tool protects your account by providing random codes to verify user identity whenever they log in and use online accounts like trading accounts, iCloud, social media accounts, etc. These codes are valid for only 30 seconds; after that, they refresh. This is how Google Authenticator enhances the security of your account.
Why is Google Authenticator necessary for your accounts?
With the development of technology and science, hackers continually find ways to exploit security loopholes to steal personal information and assets. It becomes even easier if your account only uses basic security measures.
To address this, Google invested in developing an effective security support app, Google Authenticator, launched in 2010. Due to its practical benefits, many people now trust and use it.
If you are an investor, whether long-term or short-term, you surely care about security and account safety, right? Therefore, understanding and using Google Authenticator is very important.
Main Authenticator software options
Currently, there are many two-factor authentication tools, but the most prominent are Google Authenticator and Authy.
Google Authenticator
Supported on two popular operating systems, iOS and Android, all free of charge. Its advantage is simple installation and usage steps, even for first-time users.
Authy
Authy is equally popular, with the outstanding feature of allowing synchronization and use across multiple devices, offering convenience and ease of use.
What makes Google Authenticator and Authy stand out
Google Authenticator
Supports installation on two major mobile OS: Android and iOS.
Very few cases work on web platforms.
Can only be used on one device.
Authy
Available on a variety of platforms: mobile such as iOS, Android, and on computers like Windows. Allows simultaneous use on multiple devices.
Guide to install Google Authenticator on Android phones
Step 1: Visit the Google Play Store, enter the keyword in the search box, and download the app to your phone.
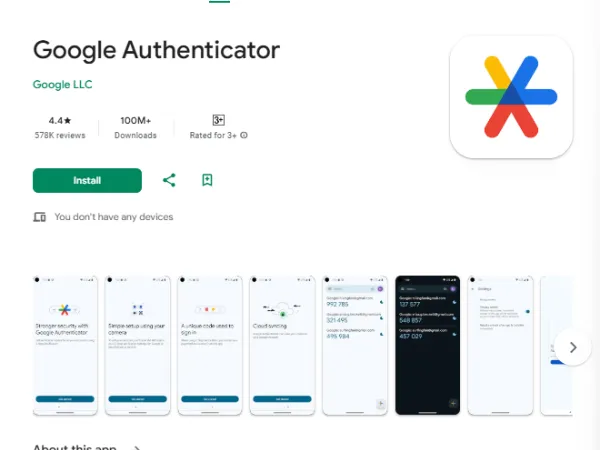
Step 2: After installation, open the app and tap the “+” icon at the top right corner of the screen.
Step 3: To scan the QR code from your Google account, tap “Scan barcode” with the camera icon.
Installing Google Authenticator on iOS
Follow similar steps as on Android.
In the App Store, enter the keyword into the search box and install the app normally.
The remaining steps are the same as on Android above.
Installing Google Authenticator for WordPress
Step 1: Log into your WordPress admin page, click “Plugins”.
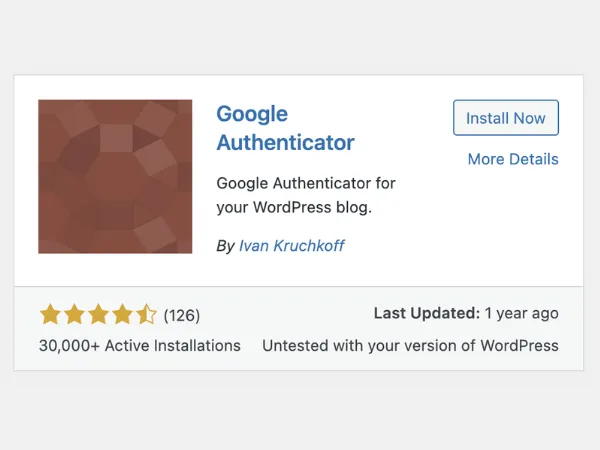
Step 2: Search for the plugin name and start installing it.
Step 3: Go to your personal account and copy the QR code.
Step 4: Open Google Authenticator app and scan the QR code to complete the WordPress setup.
Guide to using Google Authenticator
Using Google Authenticator for Gmail account
Step 1: Log into your email account.
Step 2: Find and select the menu icon on the left side of the search box, choose Settings, then your current account, and click Manage your Google Account.
Step 3: Choose Security, then in the sign-in options, click Two-Step Verification (2FA), and enter your account password.
Step 4: In the second step setup interface, select the Authenticator app, choose the device type to receive codes, and scan the QR code.
If you have Google Authenticator on the same phone, do: tap “Can’t scan the barcode” then copy the code provided and select “Enter provided key”. Finally, enter the username and password, then tap “Add”.
Step 5: The server will send you a 6-digit verification code. Enter it into the required field on Gmail to complete.
Activating Google Authenticator for trading accounts
To use this tool for trading accounts, follow the Binance example below:
Step 1: Select Security on your account management page, enable Google verification, and you’ll receive a prompt to download the Binance app, then click “Next”.
Step 2: Get the preliminary password
Step 3: Re-enter the provided password and your account password along with the 2FA to successfully activate.
Transferring Google Authenticator to a new device
Step 1: Install the app on the new device and log into Google Authenticator.
Step 2: Access Google’s 2-step verification page.
Step 3: Click the pencil icon next to Authenticator, then you will see a dialog asking if you want to change registration phone number or delete Google Authenticator.
Step 4: Choose the new device you want to use, then scan the QR code with the Authenticator app on that device to verify that the server recognizes these as the same device.
Step 5: Finally, enter the verification code to let the server confirm it is your new device. Remember to transfer accounts before removing Google Authenticator from the old device.
Conclusion
This article has covered basic knowledge of Google Authenticator including: What it is, why it’s necessary, and how to install and use the tool. Hopefully, this information will be useful for your work.
See more: Trading View


